What Happens at Changi Airport Immigration: A Step-by-Step Guide for Indian Tourists (2026)
Stepping off your flight at Changi Airport, the last thing you need is uncertainty. Here is the direct answer: Indian tourists with a valid Singapore...
Stepping off your flight at Changi Airport, the last thing you need is uncertainty. Here is the direct answer: Indian tourists with a valid Singapore e-Visa must proceed to the manual immigration counters (not the automated e-gates, unless you qualify under ACI—details below), present your passport, printed e-Visa, confirmed return ticket, and proof of sufficient funds if asked. The immigration officer will ask 2-3 brief questions about your trip purpose and duration, verify your documents, take your photo and fingerprints, then stamp your passport with a Short-Term Visit Pass. This entire process typically takes 5-15 minutes if your dossier is organized. Reading the next 1,500 words is critical because a single misstep—like having only digital copies of your return ticket or insufficient cash forex—can lead to secondary screening or even denial of entry, regardless of your approved e-Visa. This guide gives you the exact, actionable checklist used by our Delhi NCR consultants to prepare first-time travelers for a smooth Changi arrival.
The Exact Step-by-Step Process at Changi Immigration
Step 1: Disembarkation to Immigration Hall (Terminal 1, 2, 3, or 4)
After landing, follow signs labeled "Immigration" and "Arrivals." You'll pass through a health declaration checkpoint if required (currently optional for most Indian tourists, but verify 48 hours before travel via the ICA website). Keep your passport and e-Visa printout in your hand—not buried in your bag. Changi is efficiently signed, but rushing or fumbling at this stage signals disorganization to officers observing the queue.
Step 2: Queue Selection: Manual Counters vs. ACI E-Gates
Most Indian passport holders must use the Foreign Passport manual counters. However, if you meet all of these criteria, you may qualify for the Automated Clearance Initiative (ACI) e-gates:
- You are 16 years or older.
- You hold an ordinary Indian passport (not diplomatic/official).
- You have visited Singapore at least once in the last 24 months using the same passport.
- Your biometrics (photo and fingerprints) were captured during a prior visit.
If eligible, follow signs for "Automated Clearance" and scan your passport at the e-gate. The system will verify your identity and print a small entry slip—keep this with your passport. Critical nuance: First-time visitors, travelers with new passports, or those whose prior visit was over 24 months ago must use manual counters. Do not assume eligibility; when in doubt, join the Foreign Passport queue.
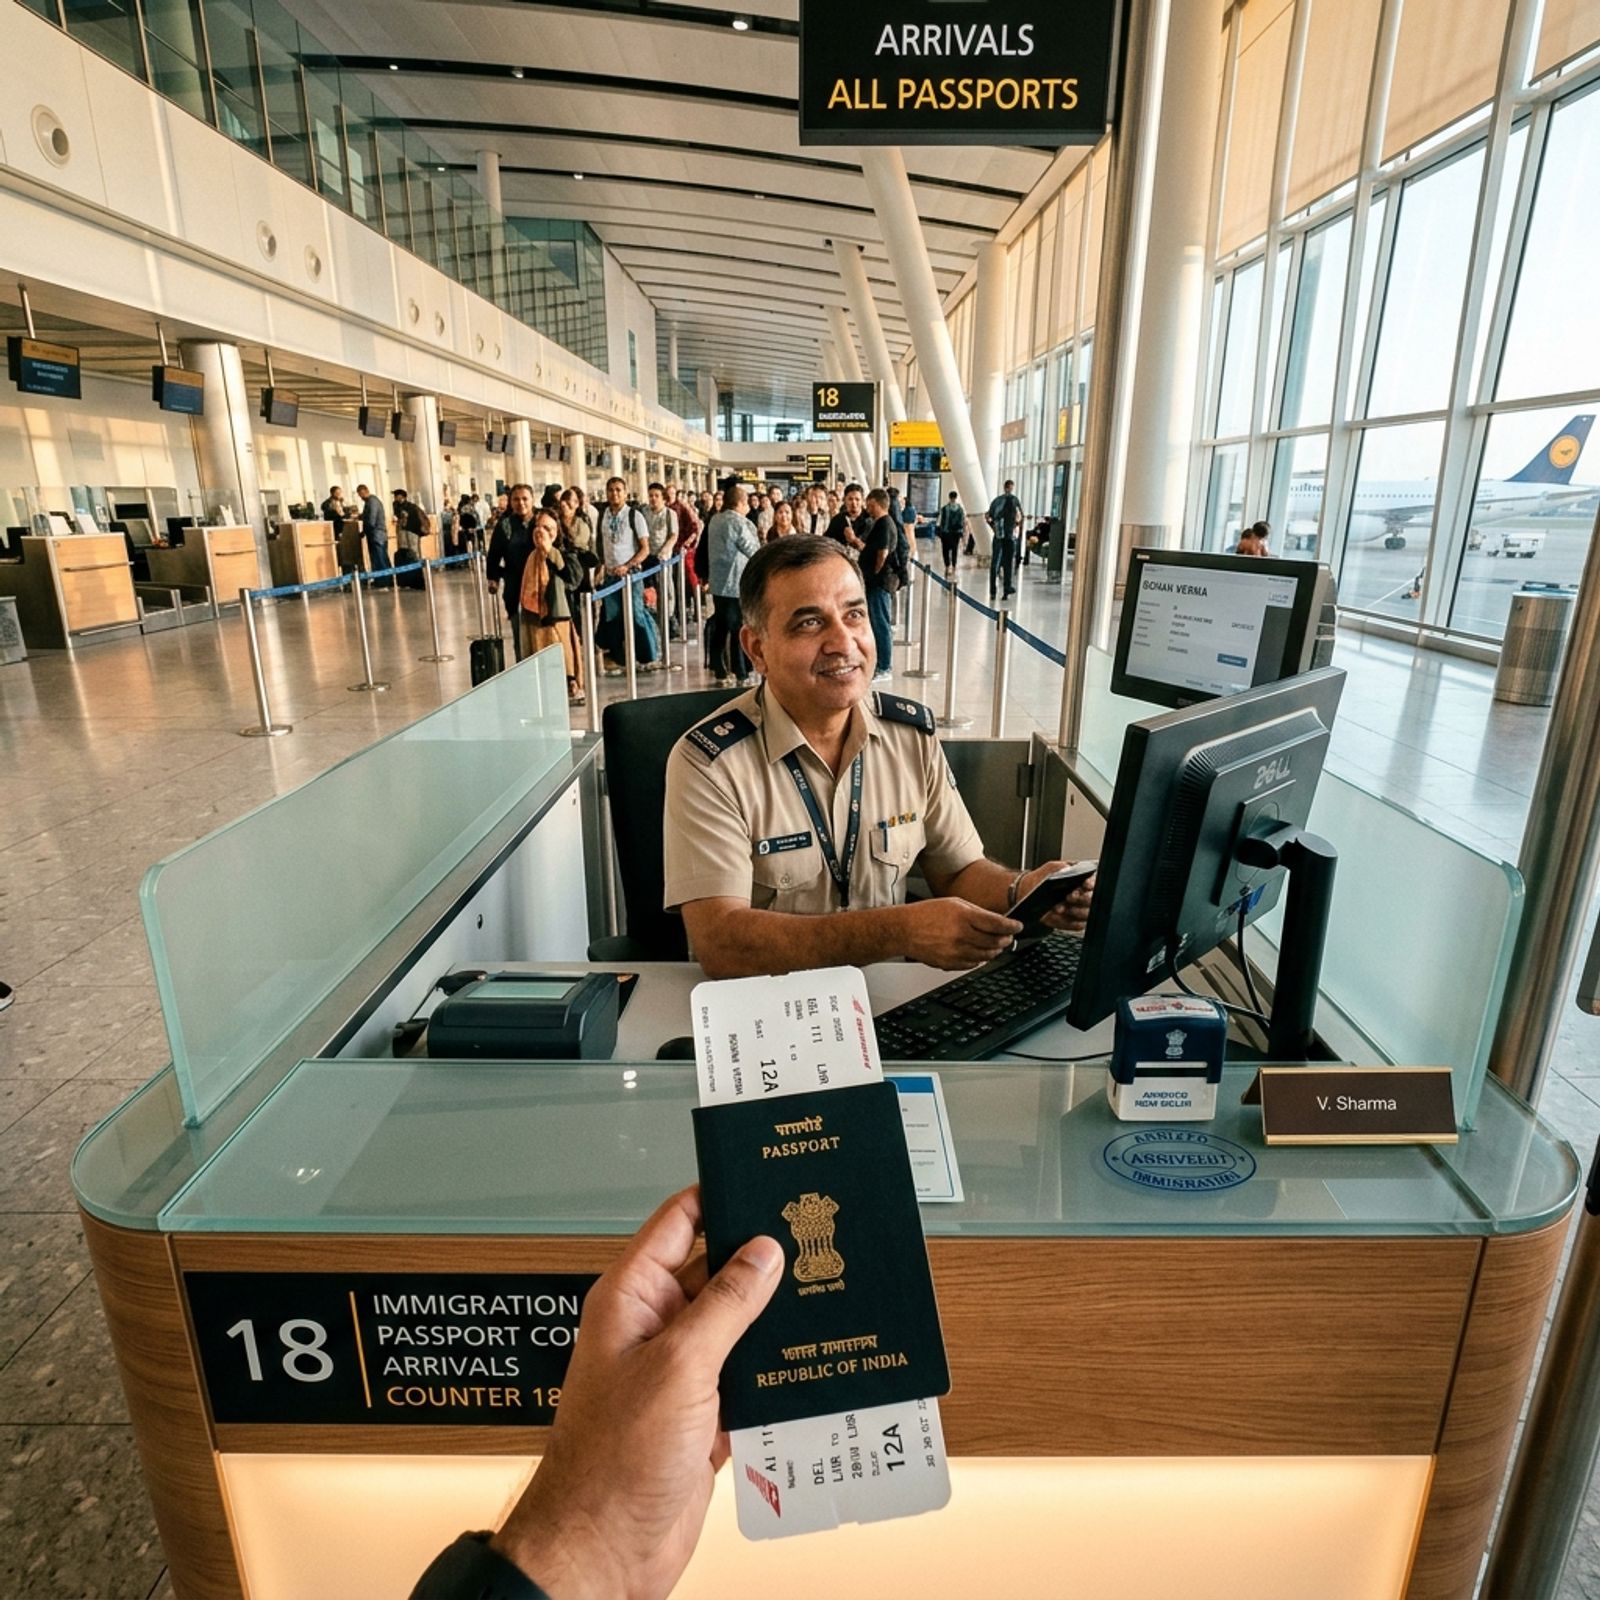
Step 3: Document Presentation & Officer Questions
At the manual counter, the officer will:
- Scan your passport and e-Visa QR code.
- Ask 2-3 standard questions:
- "What is the purpose of your visit?"
- "How long will you stay?"
- "Where are you staying?" (Have your hotel address or host's details ready.)
- Request to see your confirmed return ticket and proof of sufficient funds (if flagged).
Answer concisely and confidently. For example: "Tourism, 6 days, staying at Hotel Boss at 500 Jalan Sultan." Avoid over-explaining or volunteering unsolicited details. Officers process hundreds of travelers daily; brevity builds trust.
Step 4: Biometrics & Final Stamp
The officer will capture your photo and fingerprints digitally. Once verified, they will stamp your passport with a Short-Term Visit Pass, typically valid for 14-30 days. Immediately check the stamp for:
- Correct entry date.
- Duration of stay granted (e.g., "30 days").
- Any conditions noted (rare, but possible).
If anything is incorrect, politely request correction before leaving the counter. After immigration, proceed to baggage claim and customs.
Three Critical Edge Cases (and Exactly How to Handle Them)
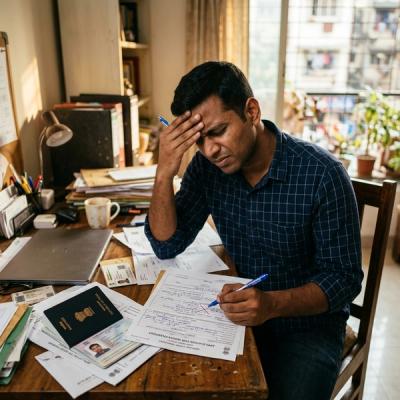
Edge Case 1: The "Show Money" Requirement: Cash vs. Cards
ICA does not publish a fixed "show money" amount, but based on consistent officer feedback and client experiences, expect to demonstrate SGD 50-100 per day of stay in accessible funds. For a 7-day trip, that's SGD 350-700 (approx. ₹22,000-44,000).
Why Cash Forex Still Matters in 2026:
While Singapore is highly card-friendly, immigration officers may ask to see physical proof of funds because:
- UPI does not work in Singapore; relying solely on PhonePe/GPay leaves you vulnerable.
- Credit cards can be declined or have low international limits.
- Cash is immediate, universal verification.
The Fix – A Tiered Proof Strategy:
- Primary: Carry SGD 100-200 in physical cash (mix of $10 and $50 notes) in your hand luggage.
- Secondary: Have a forex card (Niyo, BookMyForex, etc.) with a printed balance statement showing sufficient funds.
- Tertiary: Keep a screenshot of your credit card limit and a bank statement (last 3 months) on your phone, ready to show if asked.
What Not to Do: Do not flash large wads of cash unnecessarily. Present documents only when requested. If asked, state calmly: "I have SGD 200 in cash, a forex card with SGD 500 balance, and my credit card as backup. I can show any of these if needed."
Edge Case 2: ACI Eligibility: Who Can Skip the Counter?
Many Indian travelers mistakenly assume ACI e-gates are available to all e-Visa holders. They are not. The system is designed for frequent, low-risk travelers with established biometric records in Singapore's database.
How to Verify Your Eligibility Before Travel:
- Check your passport: If you received a Singapore visa or entry stamp in the last 24 months, you likely have biometrics on file.
- Contact ICA directly via their website inquiry form (not recommended last-minute) or ask your visa agent.
- When in doubt, plan to use manual counters. Attempting the e-gate without eligibility wastes time and may trigger a manual review anyway.
Edge Case: Elderly Parents or Children:
ACI requires the traveler to operate the e-gate independently (scanning passport, looking at camera, placing fingers on scanner). For elderly parents or children under 16, always use manual counters. Officers are trained to assist families; simply state: "I am traveling with my parents/children; we require assistance at the manual counter."
Edge Case 3: The Return Ticket Check: Digital vs. Physical Proof
ICA officers will almost always ask to see your confirmed return or onward ticket. This is non-negotiable proof you intend to leave Singapore within the granted period.
The Fix – Dual-Format Proof:
- Physical Printout: A clean, single-page print of your e-ticket showing:
- Passenger name matching your passport.
- Flight numbers, dates, and times for both outbound and return journeys.
- Booking reference (PNR) visible.
- Digital Backup: Save the same e-ticket as a PDF on your phone, accessible offline. Also, screenshot the airline's app confirmation page.
Critical Nuance: If your return ticket is on a different airline or booked separately, ensure both tickets are printed and clearly labeled. Officers may cross-check dates; mismatches raise red flags. For complex itineraries (e.g., Singapore → Bangkok → Delhi), include all segments.
The Physical Dossier: What to Hold in Your Hand at Immigration
Do not rummage through bags at the counter. Prepare a single, organized folder containing:
- Passport: Original, with at least 6 months validity from date of entry.
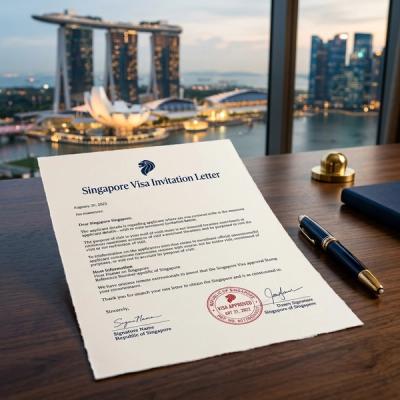
- e-Visa Printout: Color print of the ICA approval letter, with QR code clearly visible. For a complete pre-travel document checklist, refer to our Complete Documents Checklist.
- Return Ticket: Printed e-ticket as described above.
- Accommodation Proof: Hotel confirmation or host's invitation letter with address and contact.
- Funds Proof: Forex card statement + small cash stash (as detailed).
- Emergency Contact Sheet: A half-page note with:
- Your Delhi NCR address and phone number.
- Local Singapore contact (hotel/host).
- ExpressVisaSG's 24/7 WhatsApp support number (provided post-booking).
Keep this folder in a clear plastic sleeve for quick access. Practice retrieving it in under 10 seconds. This level of preparation signals to officers that you are a genuine, organized traveler.
How ExpressVisaSG's Delhi NCR Team Prepares You for Changi
We don't just hand you a visa and say goodbye. For every client in Gurgaon Cyber City, Noida Sector 62, or South Delhi (Def Col, Vasant Vihar), our consultants conduct a mandatory 15-minute "pre-departure briefing" via WhatsApp video call. We simulate the Changi immigration process: you practice presenting your dossier, we role-play officer questions, and we verify every document is print-ready and organized. This isn't theoretical—it's the exact rehearsal that has prevented secondary screenings for over 200 Delhi NCR travelers in the last year. If you're traveling with elderly parents or young children, we provide customized checklists for their specific needs.
Ready to travel with confidence? Book your visa and get our free pre-departure checklist. WhatsApp our Delhi NCR team today for your Free WhatsApp Profile Review. Unlike faceless portals, we ensure you're prepared for the moment that matters most: stepping off the plane at Changi.
Ready to Apply for Your Singapore Visa?
Get expert assistance from India's trusted Singapore visa agency.
Frequently Asked Questions
Common questions related to this topic.